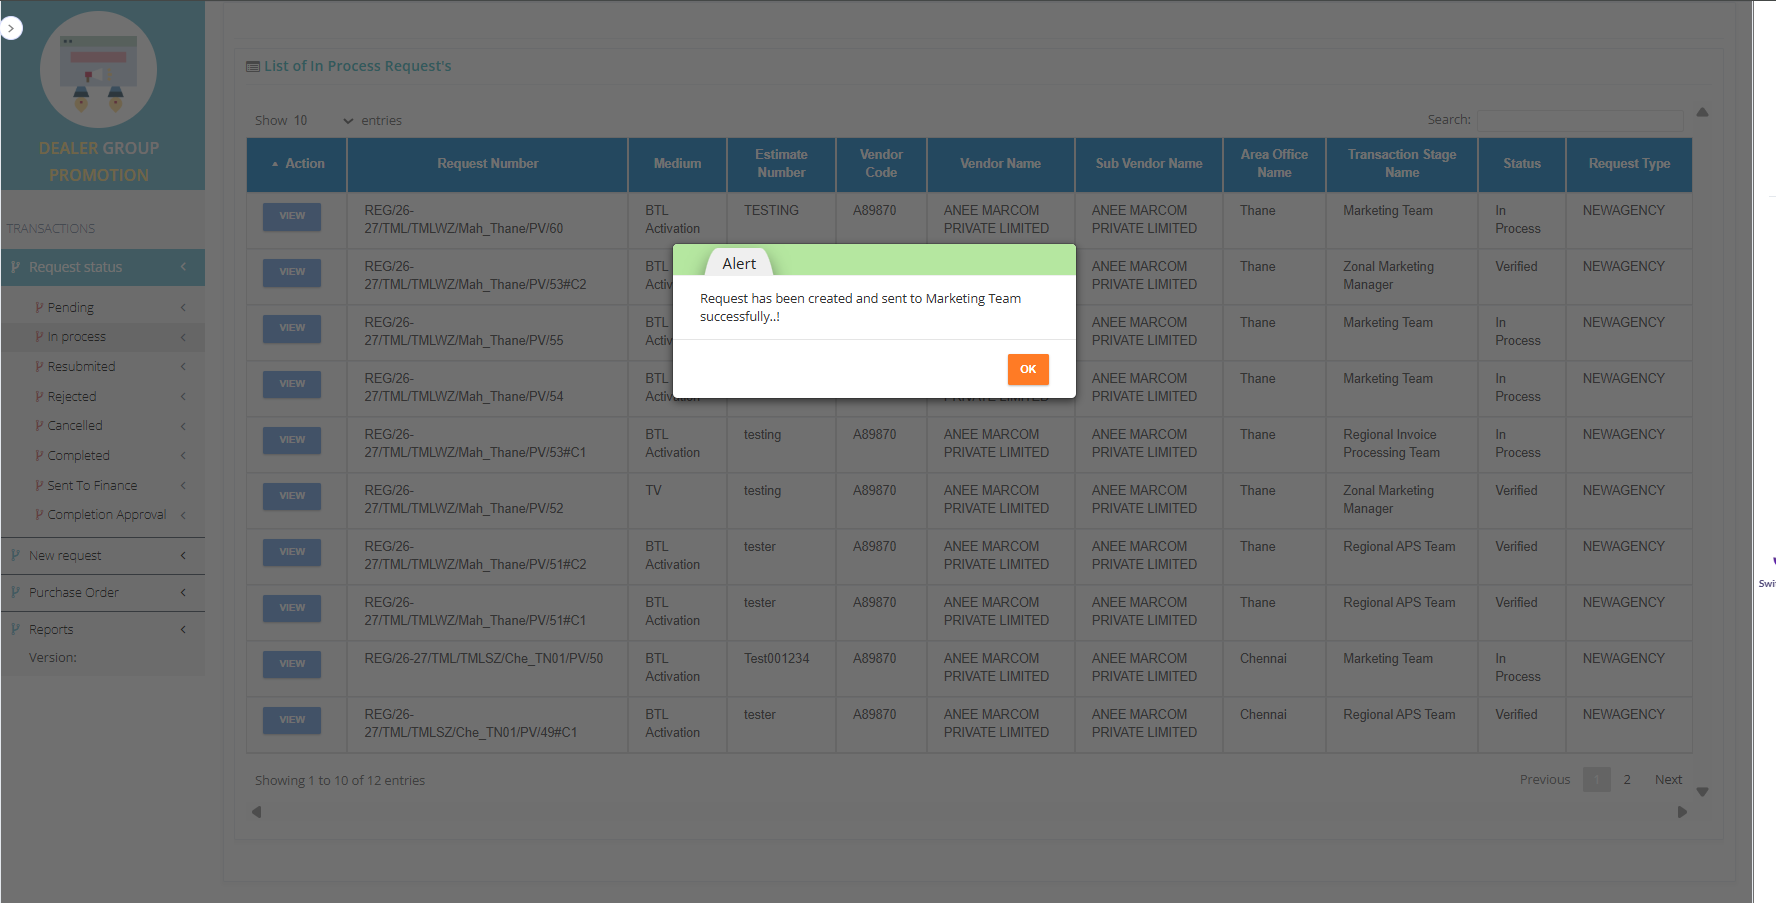

This walkthrough demonstrates how vendors create and submit marketing estimates in the Regional Marketing module. Users navigate to the module, fill in header information and activity details with line items and sub-activities, then add supporting documents, advance payments, commission, and taxes. After completing performance KPIs and conversation remarks, the estimate is submitted for approval, triggering email notifications to verifiers and approvers.
Total steps: 20
Contents
1. Getting Started (Steps a–d)
2. Header and Supporting Documents (Steps e–f)
3. Activity Details (Steps g–j)
4. Advance Payment, Commission and Taxes (Steps k–n)
5. Review and Performance (Steps o–p)
6. Remarks and Submission (Steps q–s)
1. Getting Started (Steps a–d)
(a) Regional Marketing Workflow - Estimate/Request creation
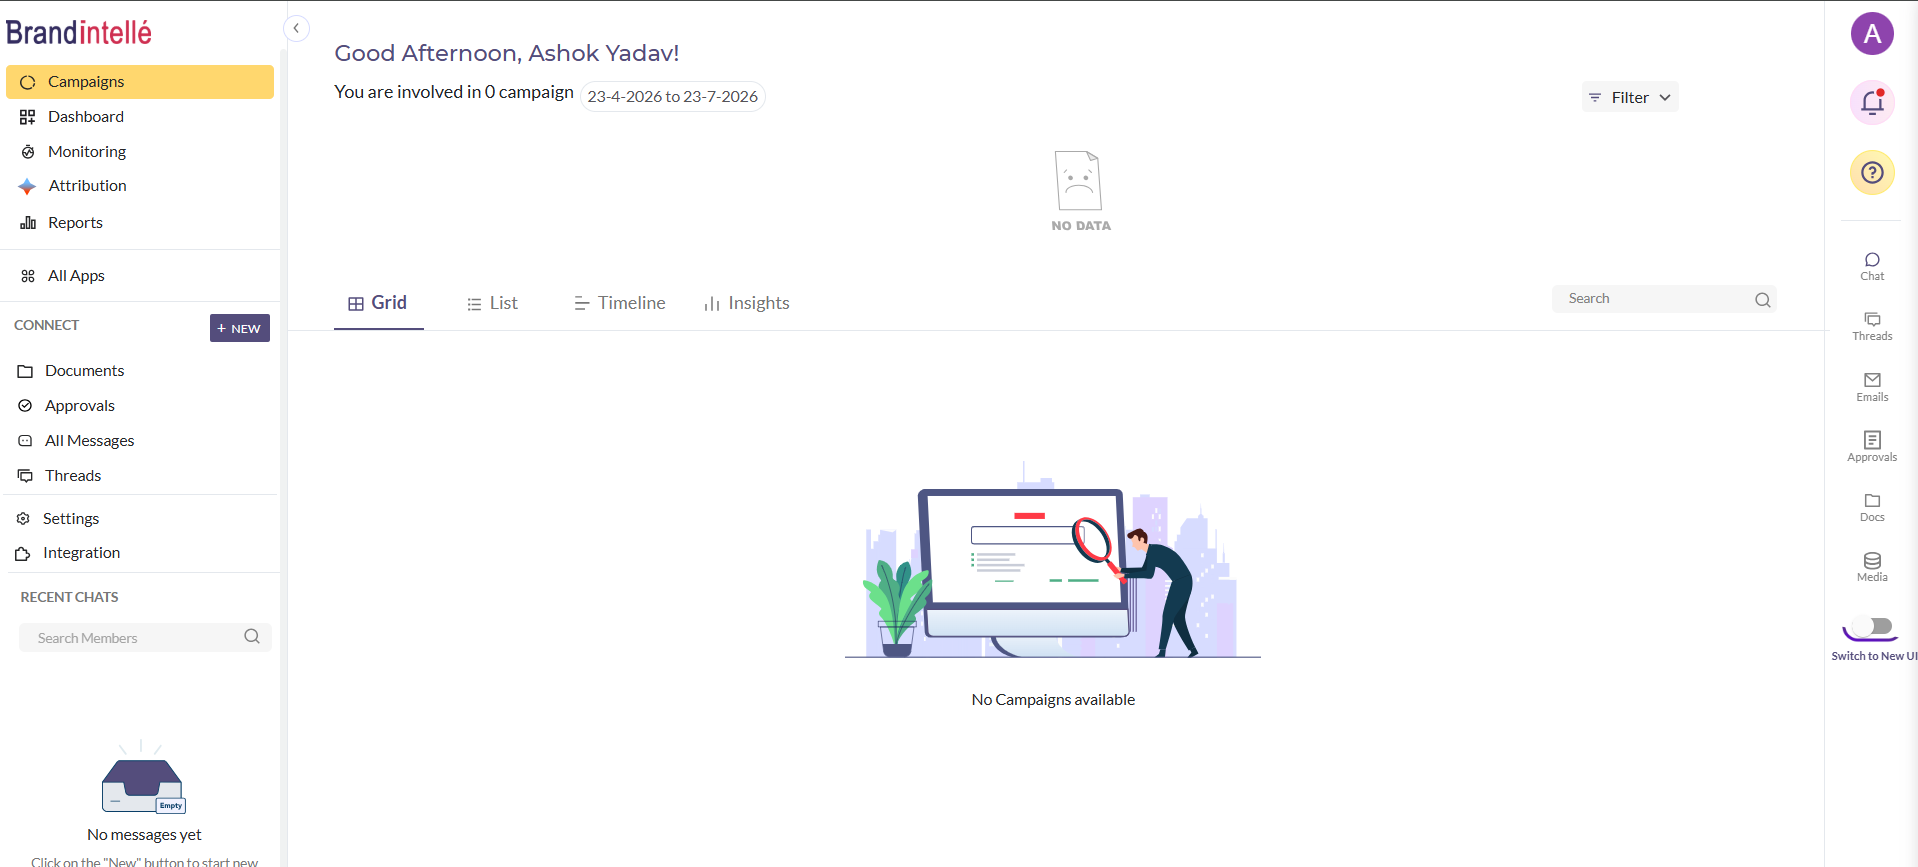
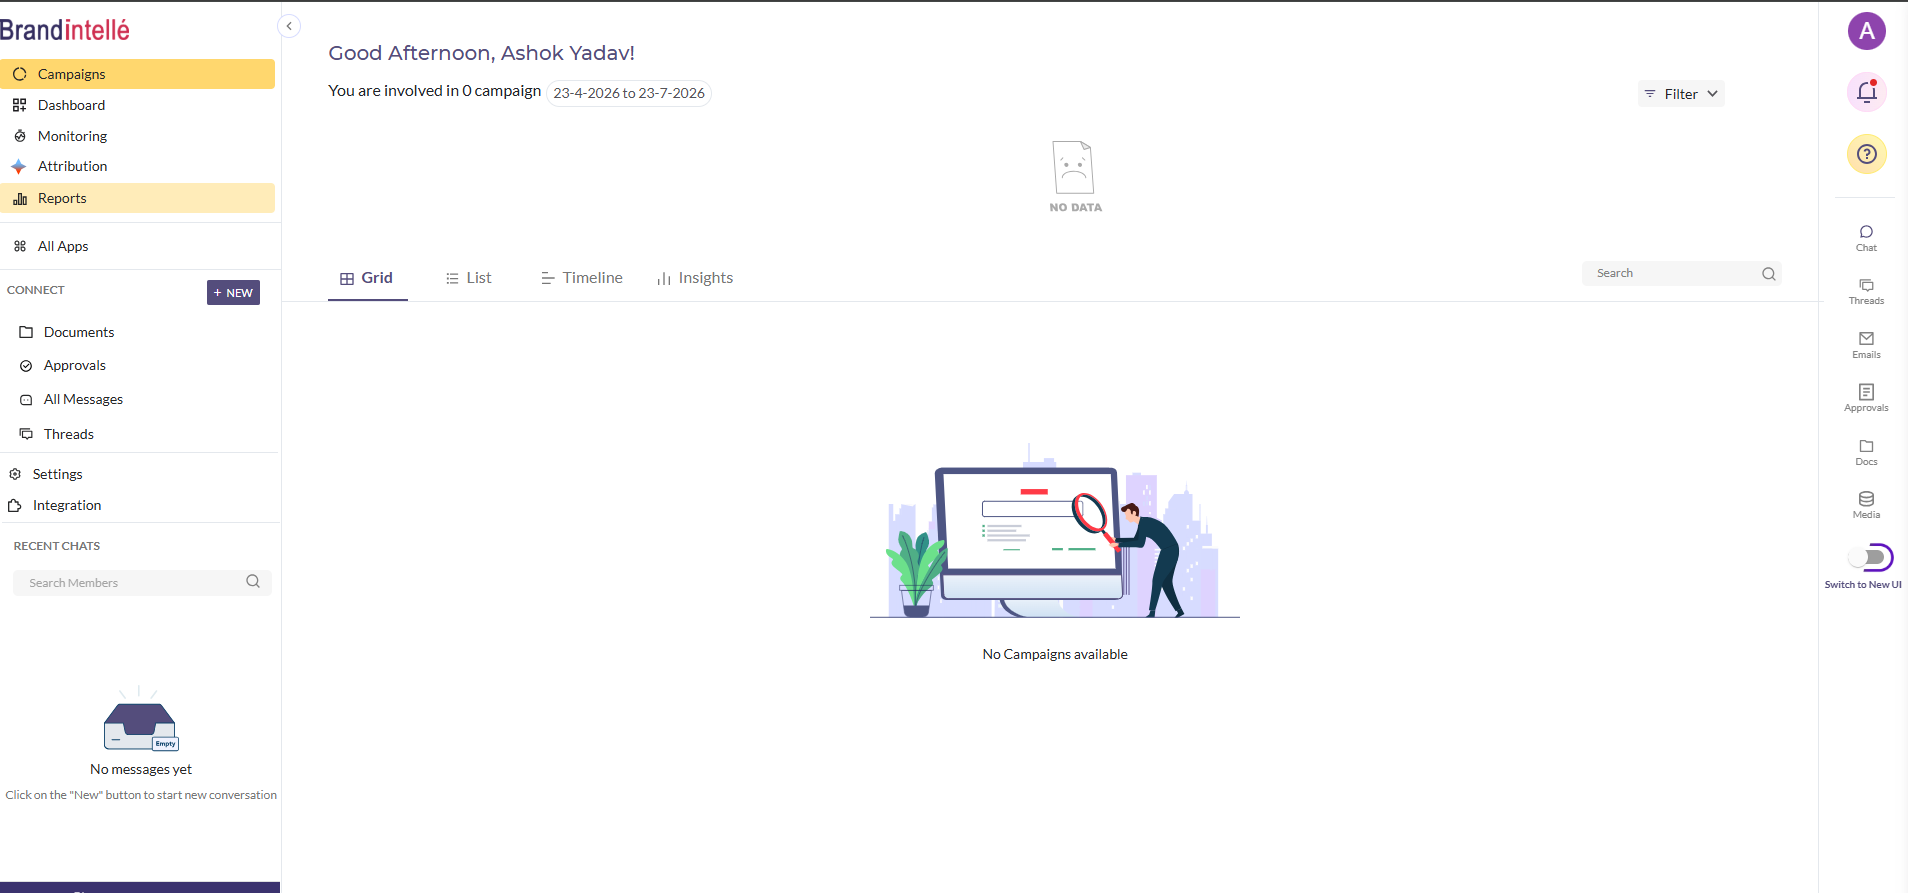
(b) Open 'All Apps' by clicking on Left Navigation Bar.
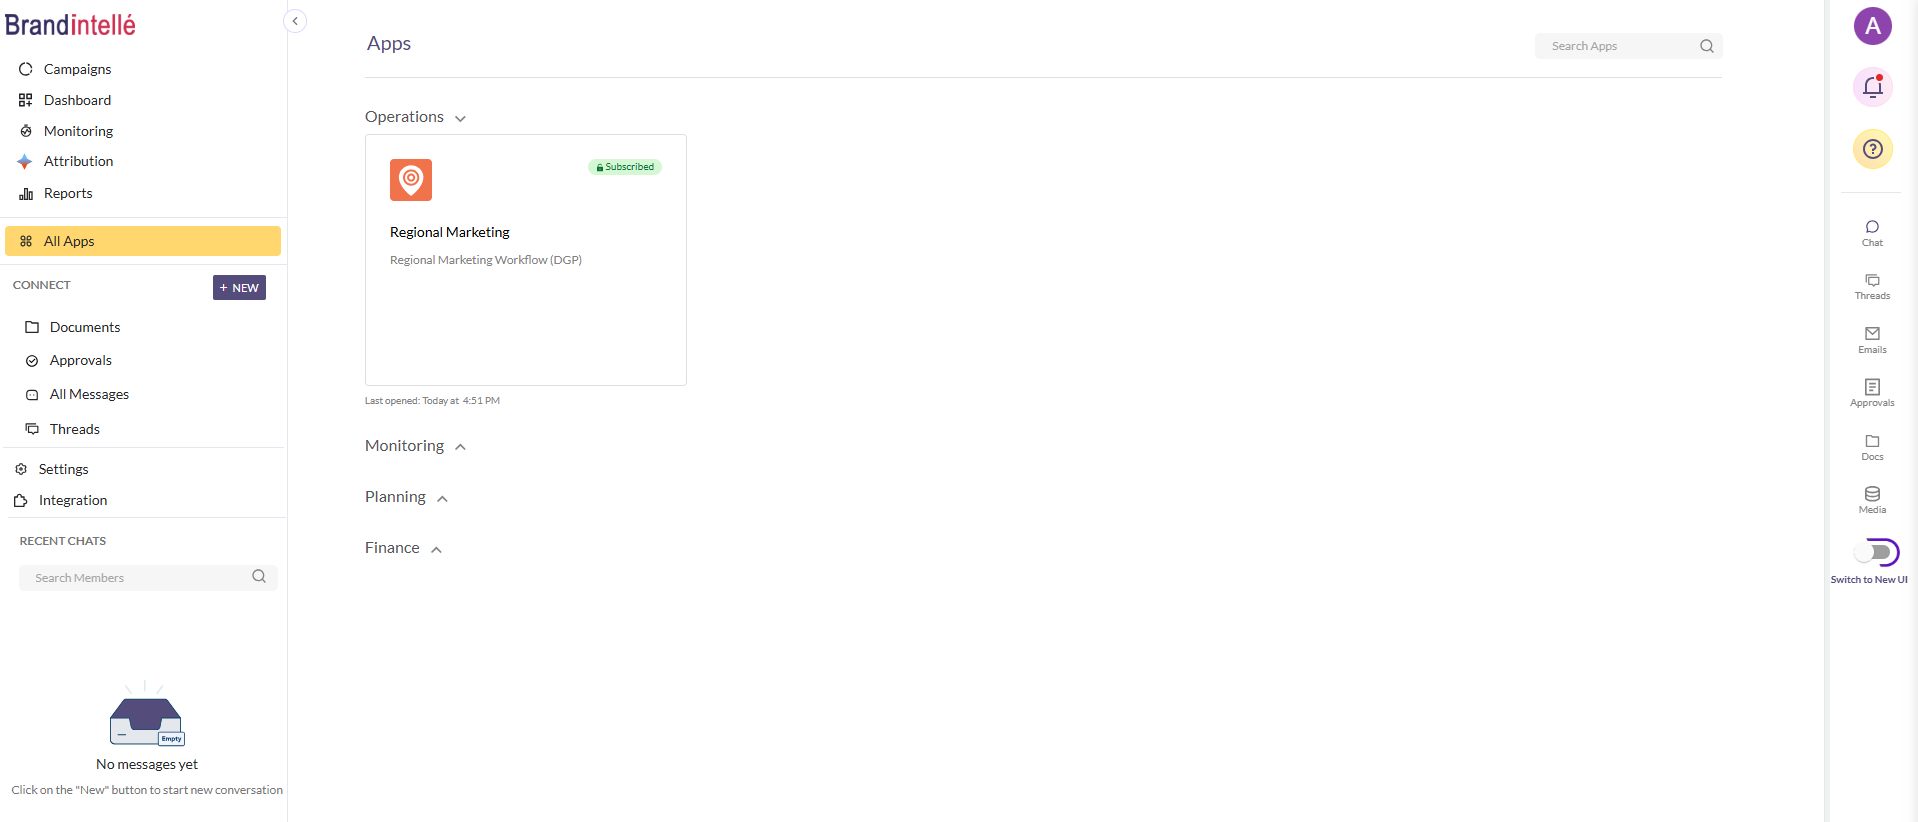
(c) Next, open the Regional Marketing Module
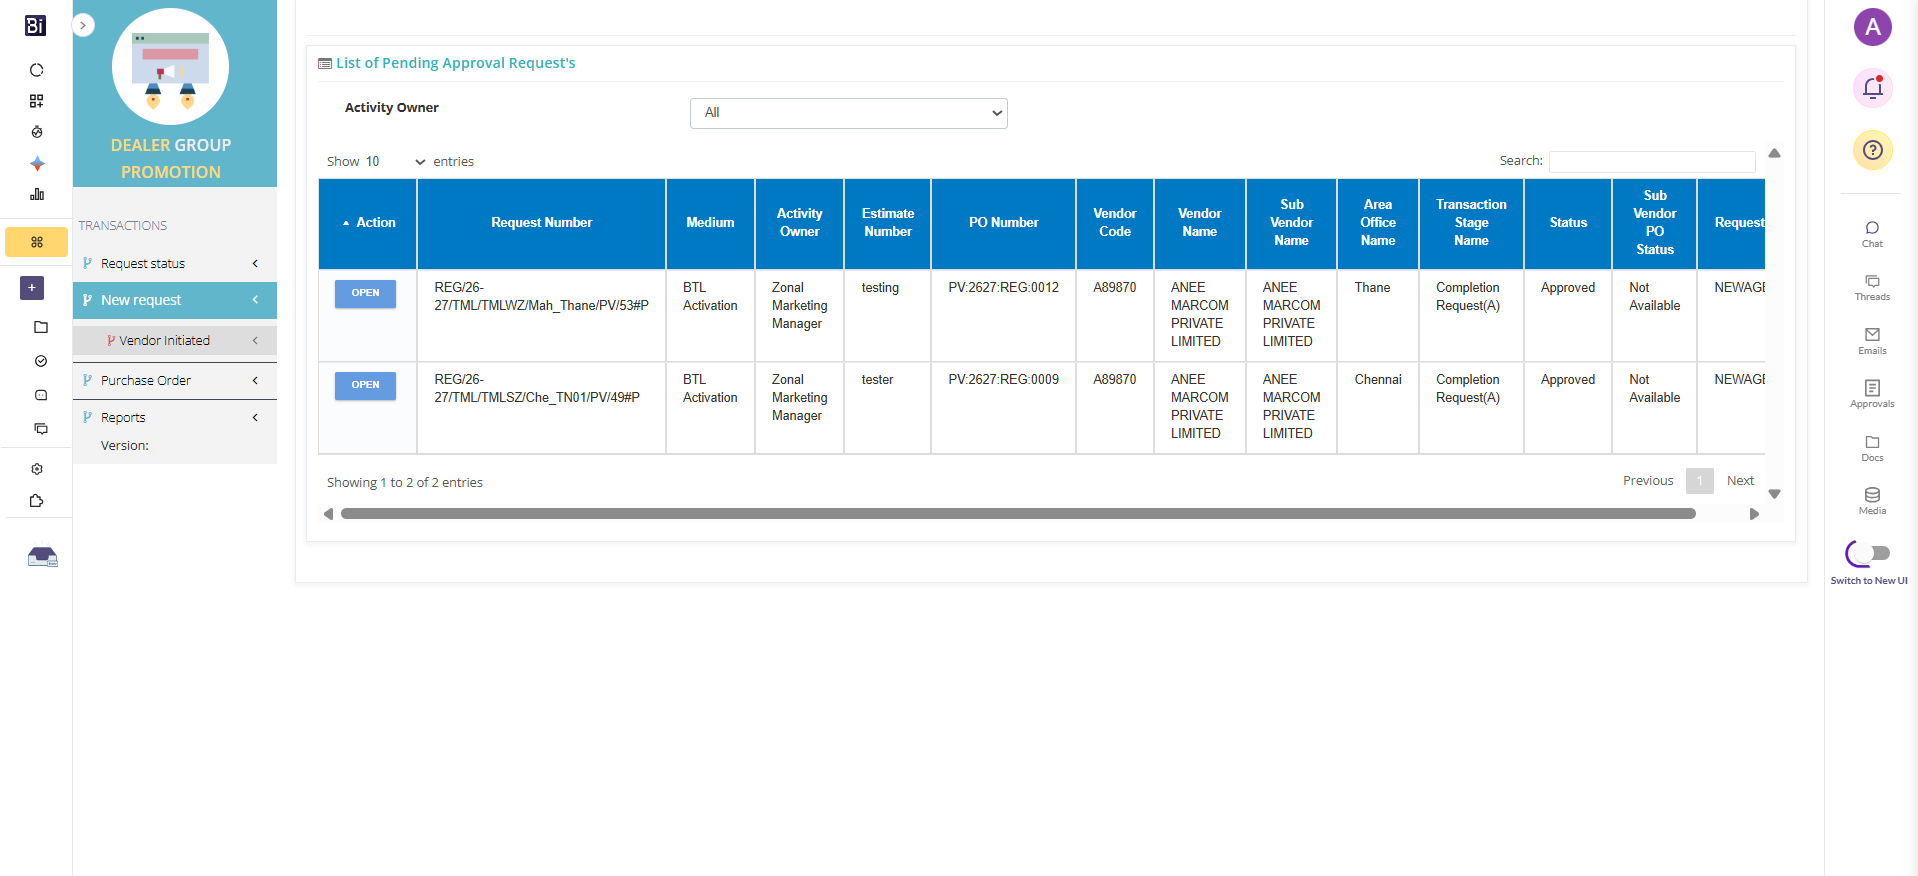
(d) Click Vendor Initiated under New Request to raise a new estimate.
2. Header and Supporting Documents (Steps e-f)
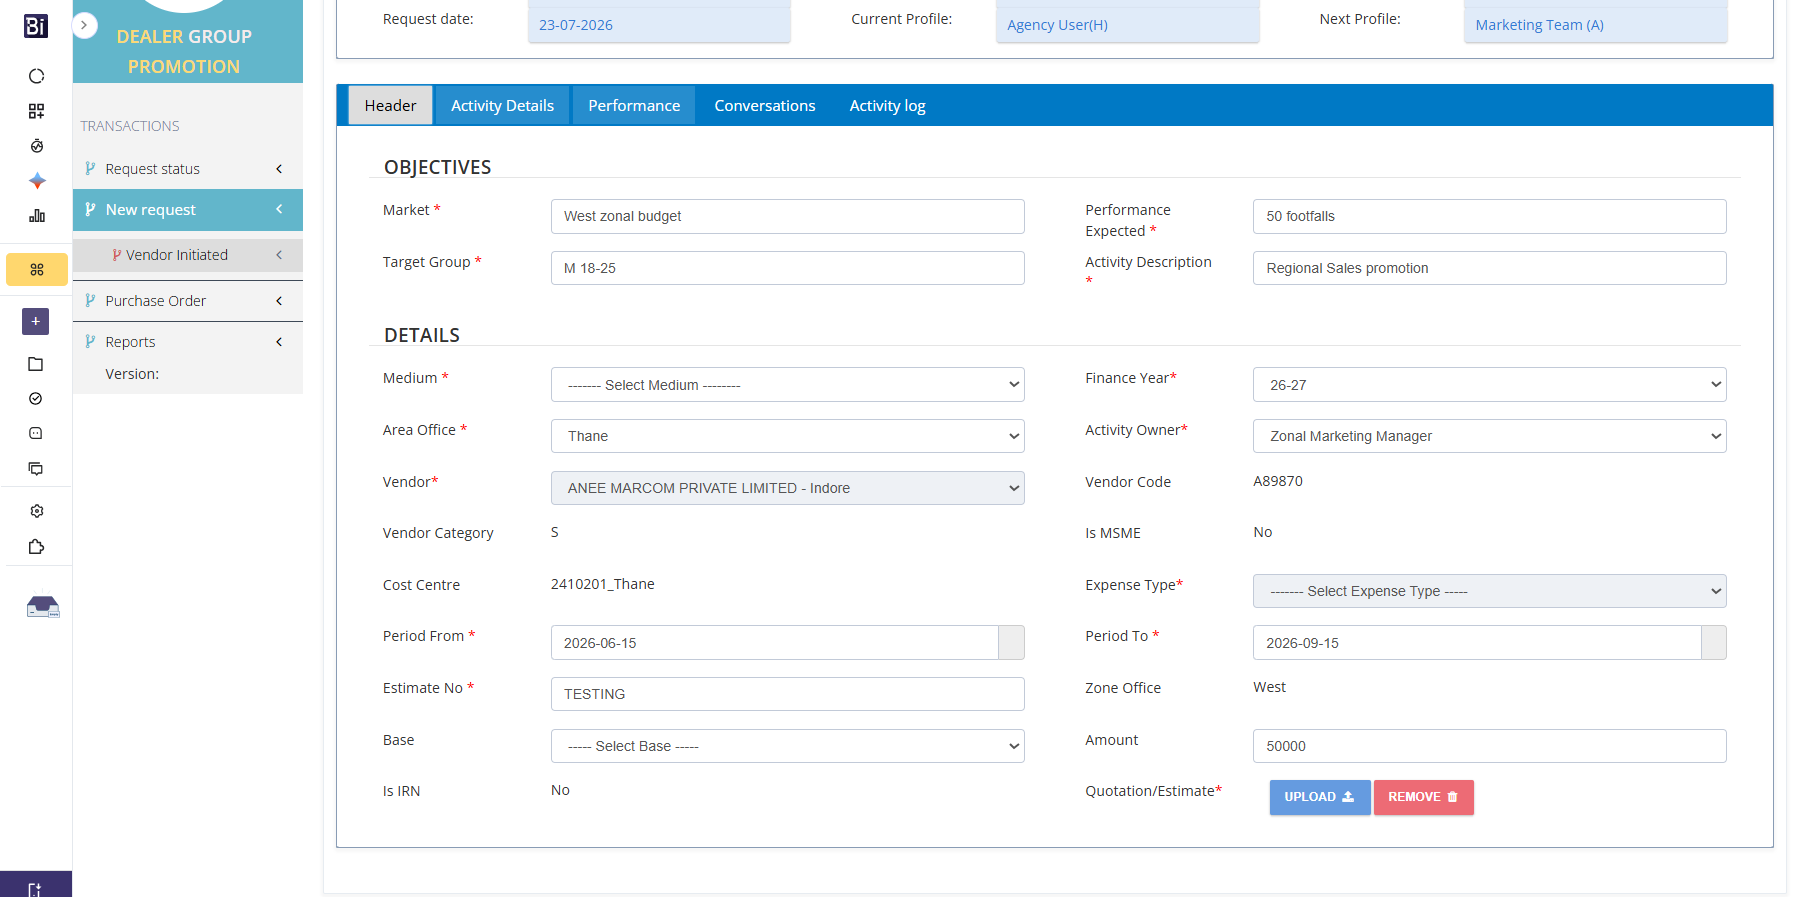
(e) Select the first section - 'Header' and fill-in the all the required details as per the activity.
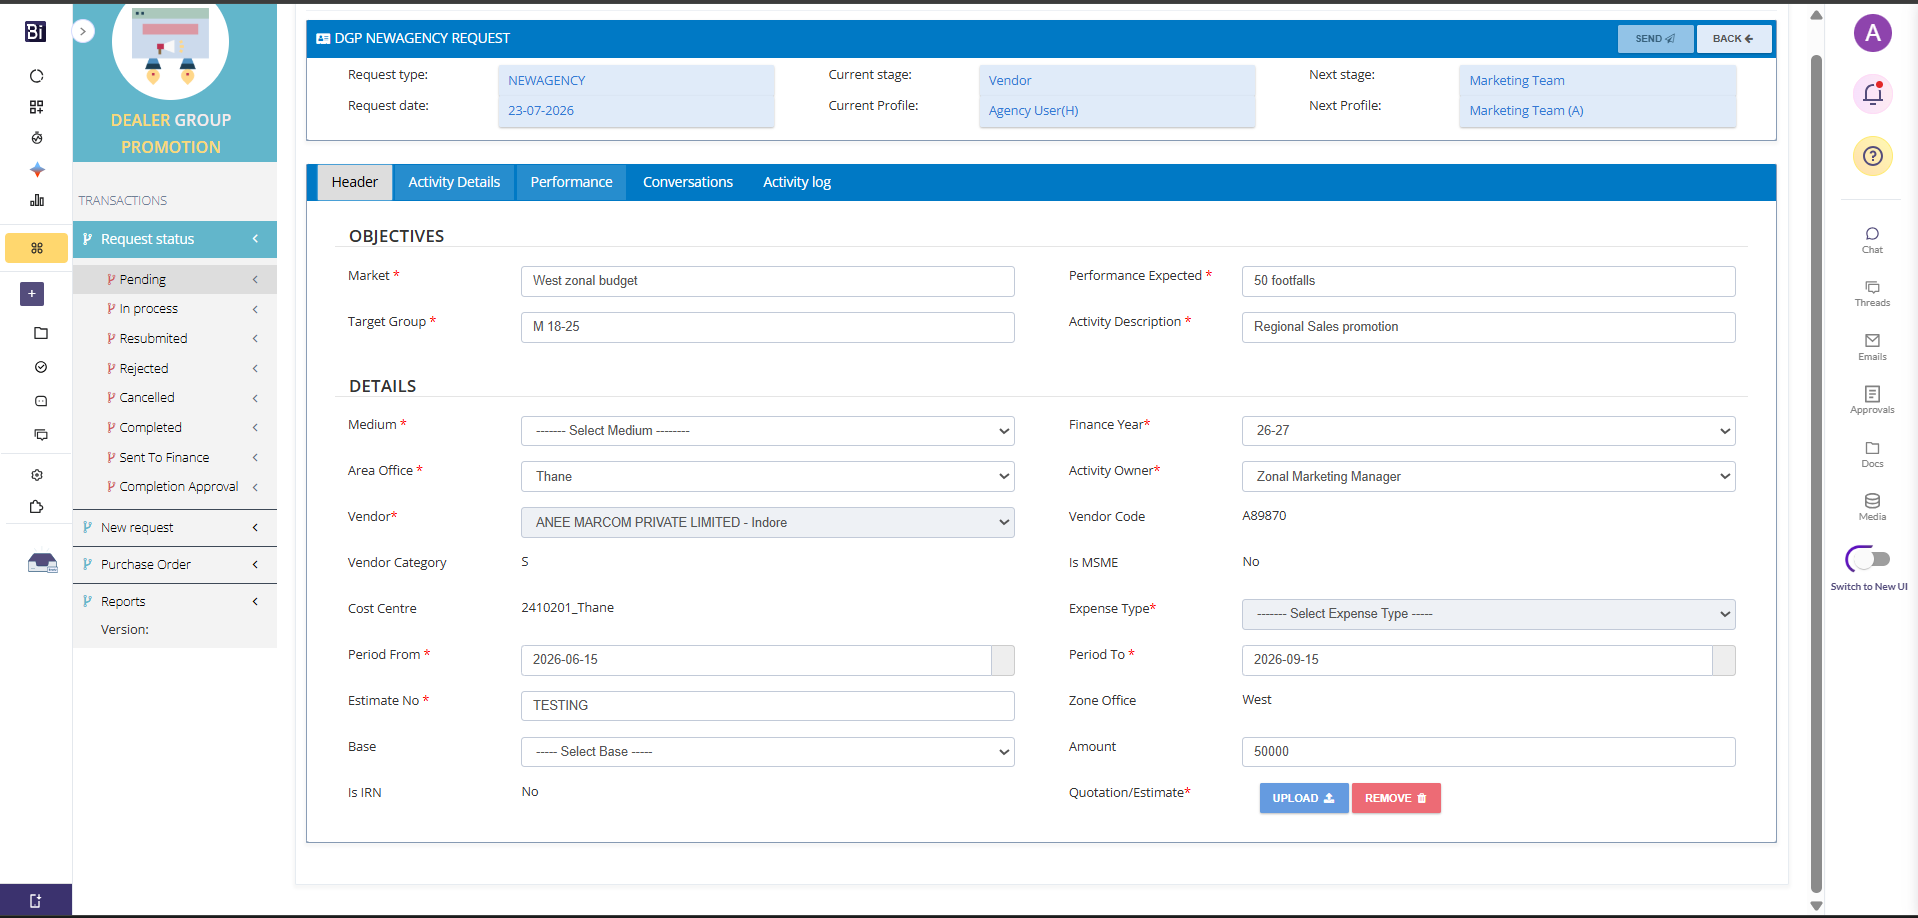
(f) Vendor can attach the supportings/pdf for the raised Estimate
3. Activity Details (Steps g–j)
(g) Next, move to the Activity Details section.
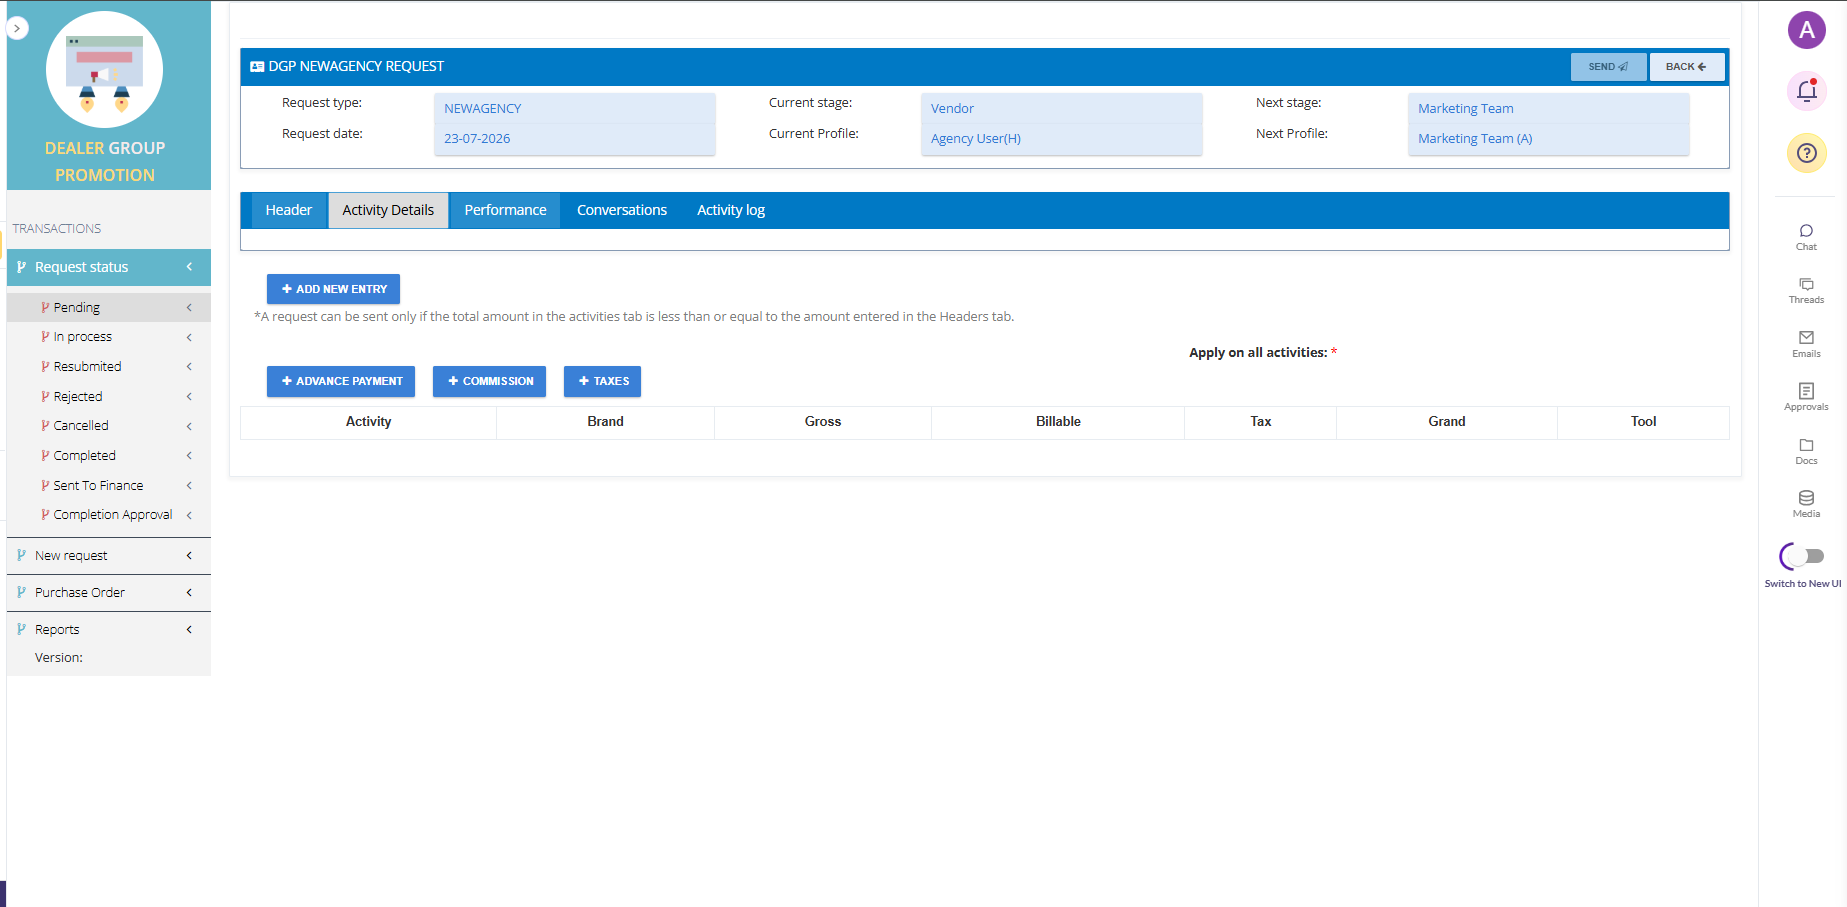
(h) To add New Activity Line Items, click on 'Add New Entry'. Fill-in all the details. Multiple line items can be added as well.
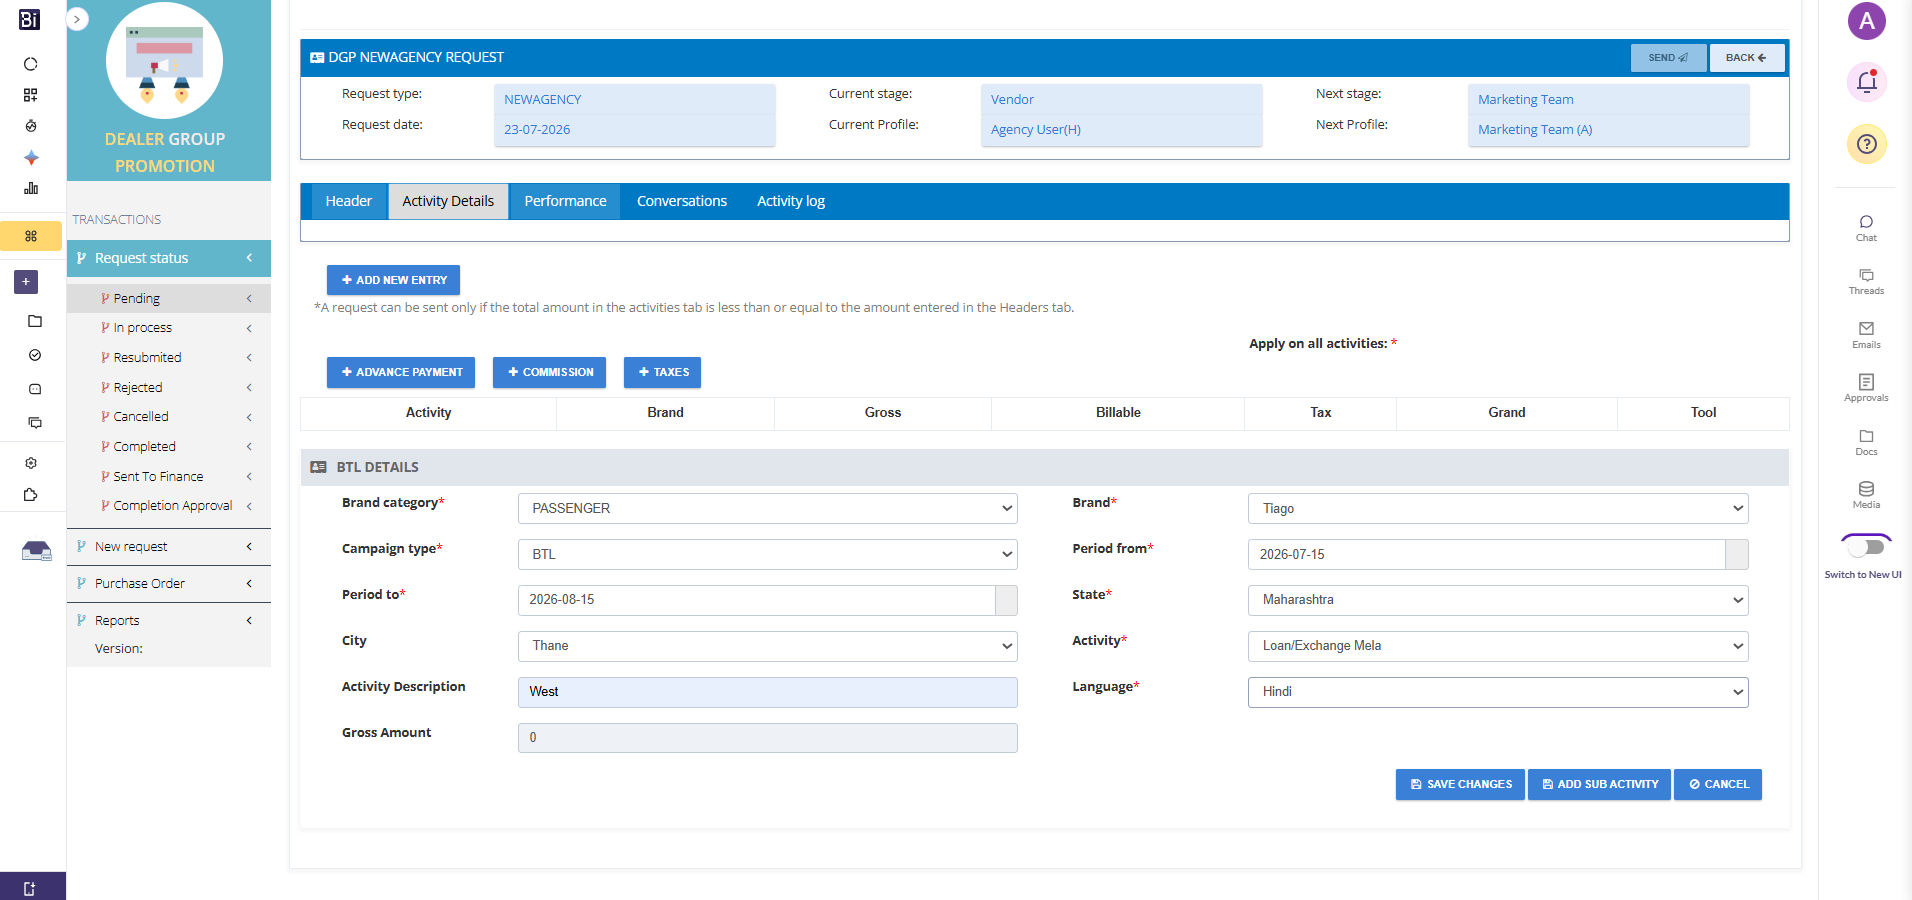
(i) For the Activity added, vendor can also add 'Sub-Activity' line items.
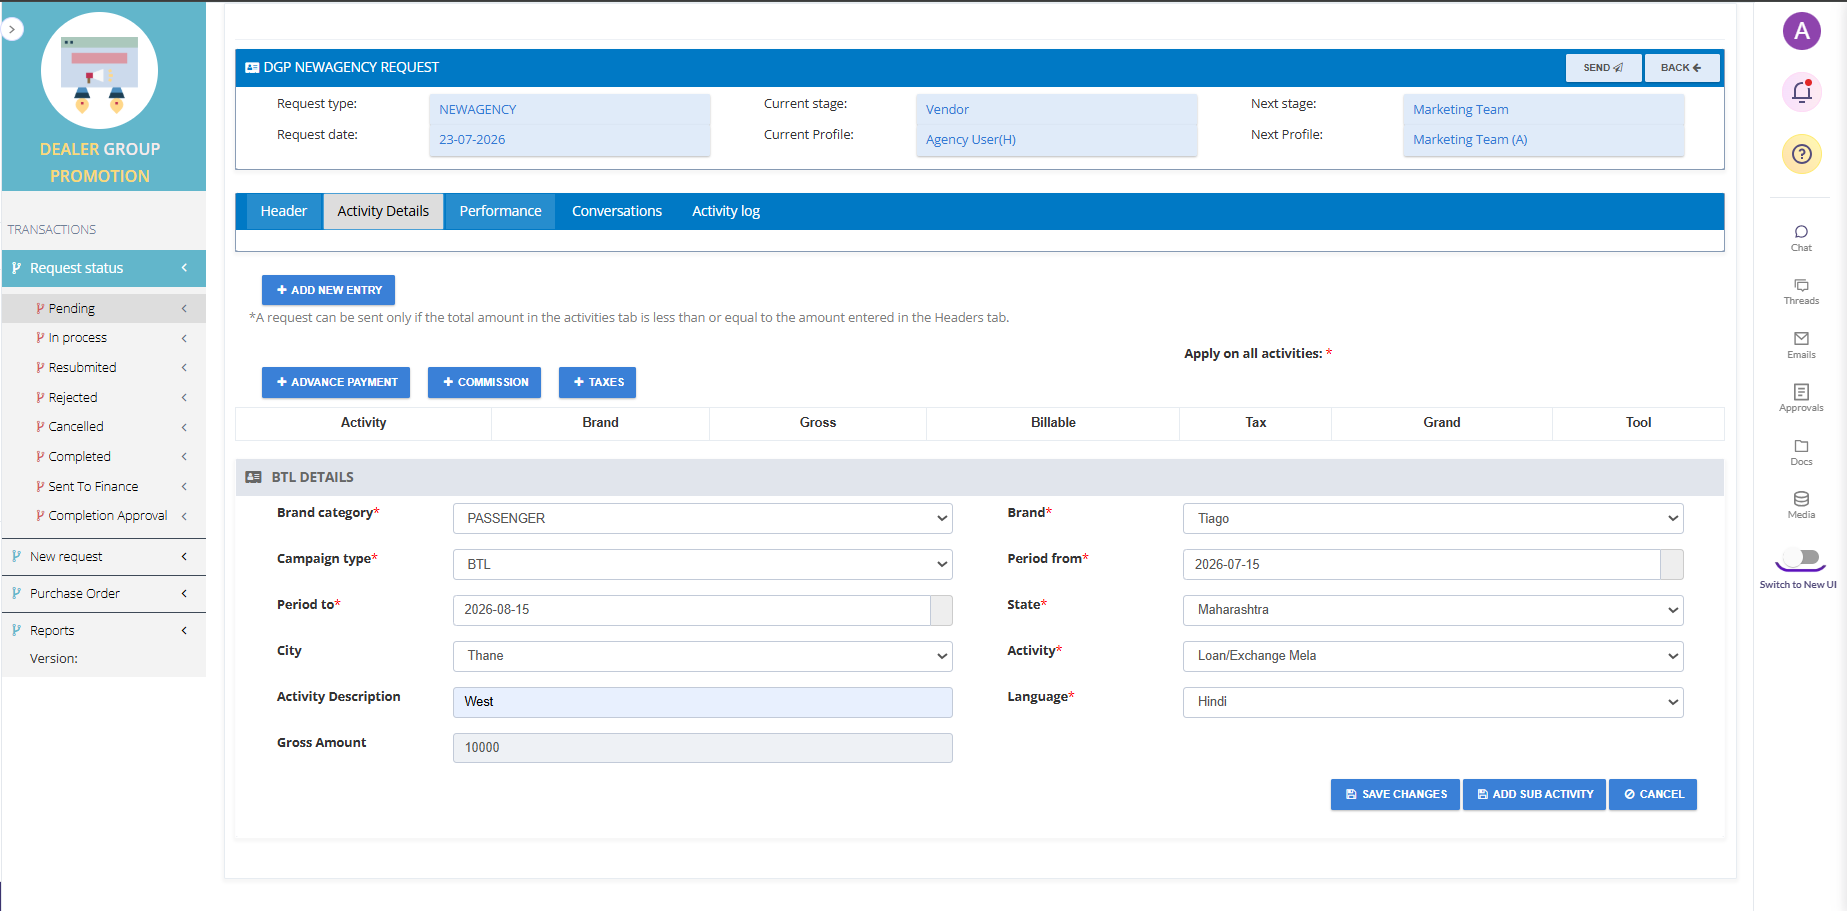
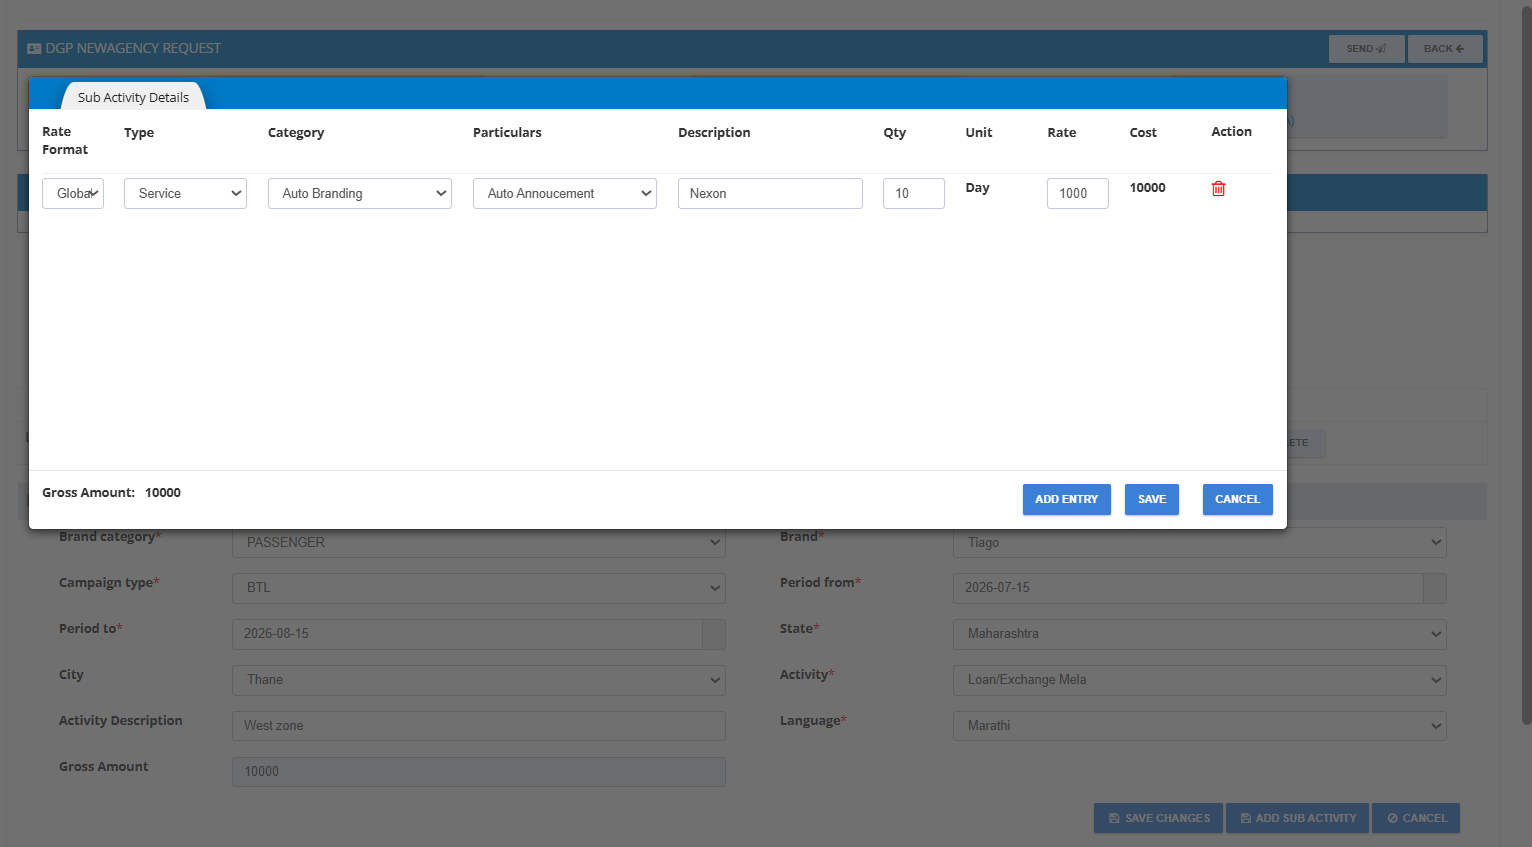
(j) Fill-in the details along with Qty and Rate per unit. Save the changes. You can add multiple sub-activities using New Entry.
4. Advance Payment, Commission and Taxes (Steps k–n)
(k) Save first, then add commission & taxes (as applicable) and advance payment (if agreed).
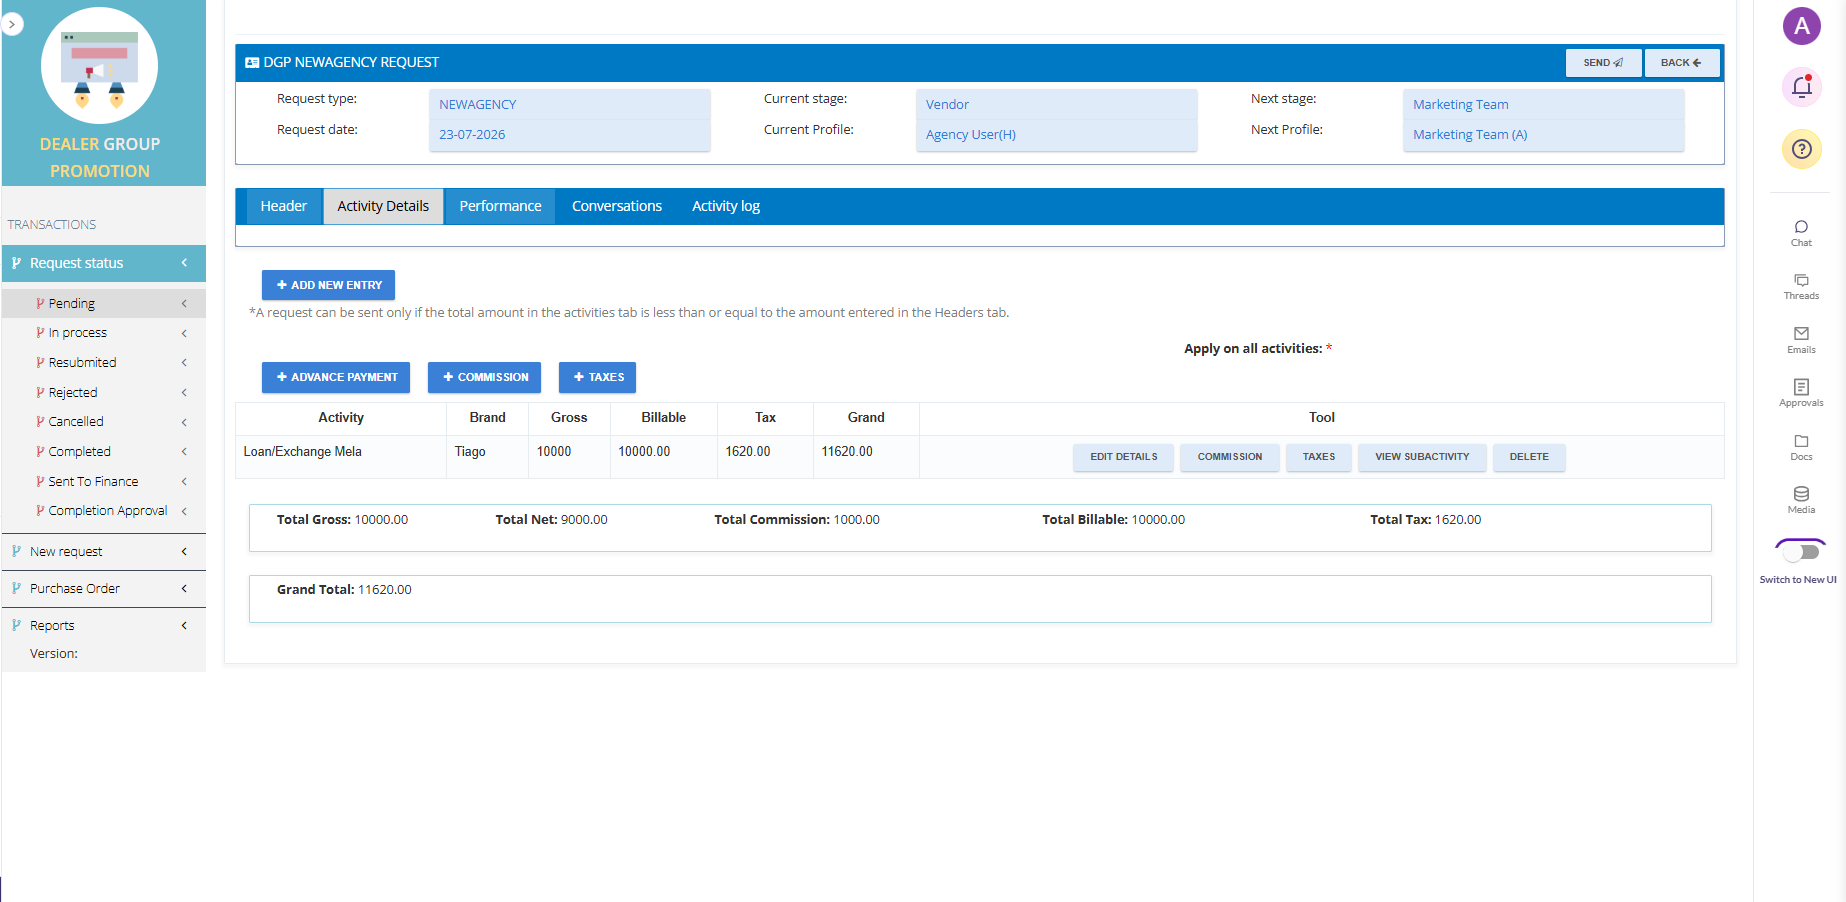
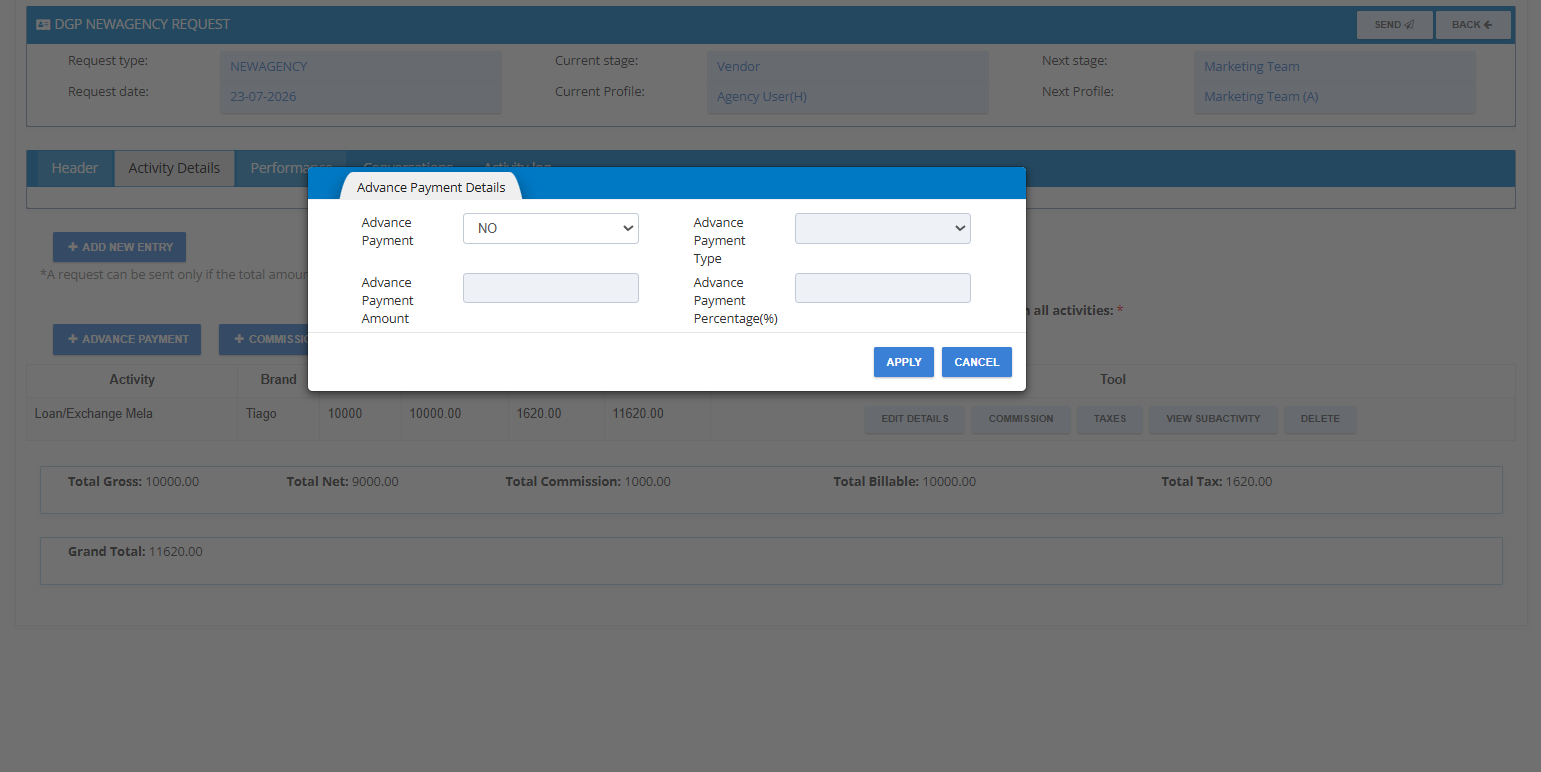
(l) Select '+ Advance Payment' and complete the details, if agreed to Advance payment or can skip as well.
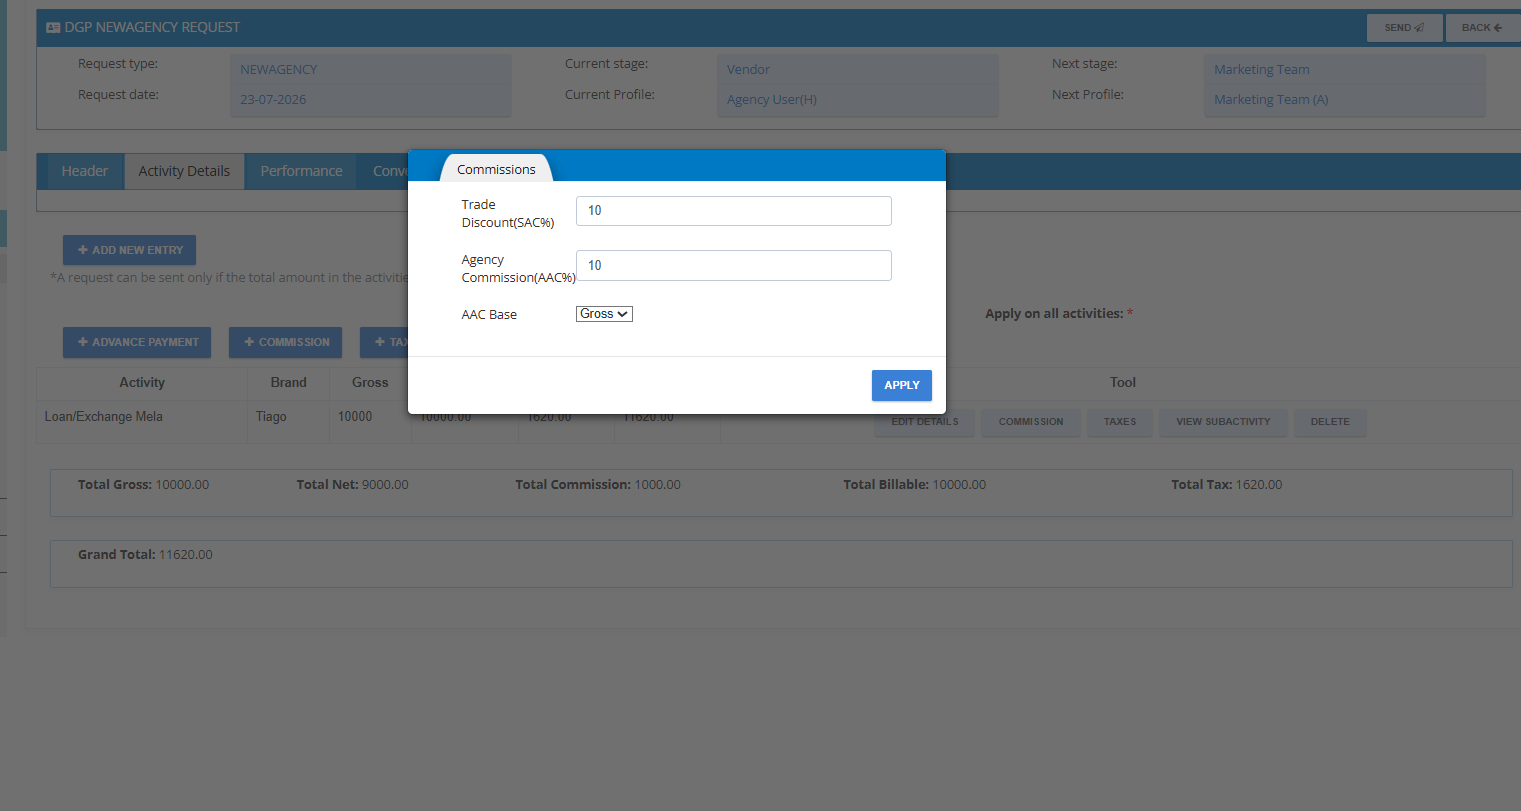
(m) Provide commission details, as applicable and click 'Apply'.
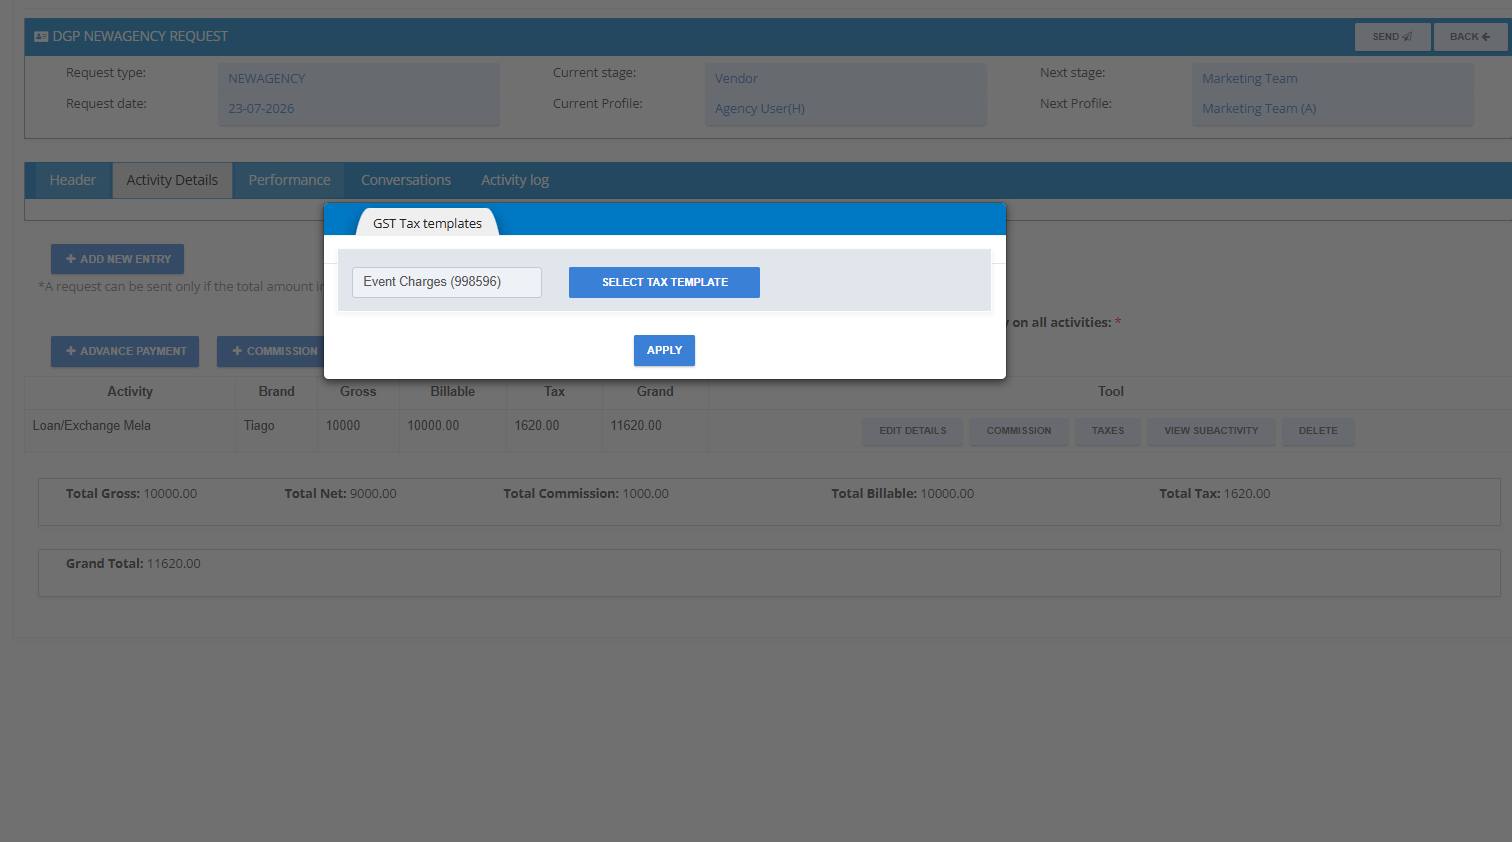
(n) For Taxes, click + Tax, select the applicable tax template, and click Apply.
5. Review and Performance (Steps o–p)
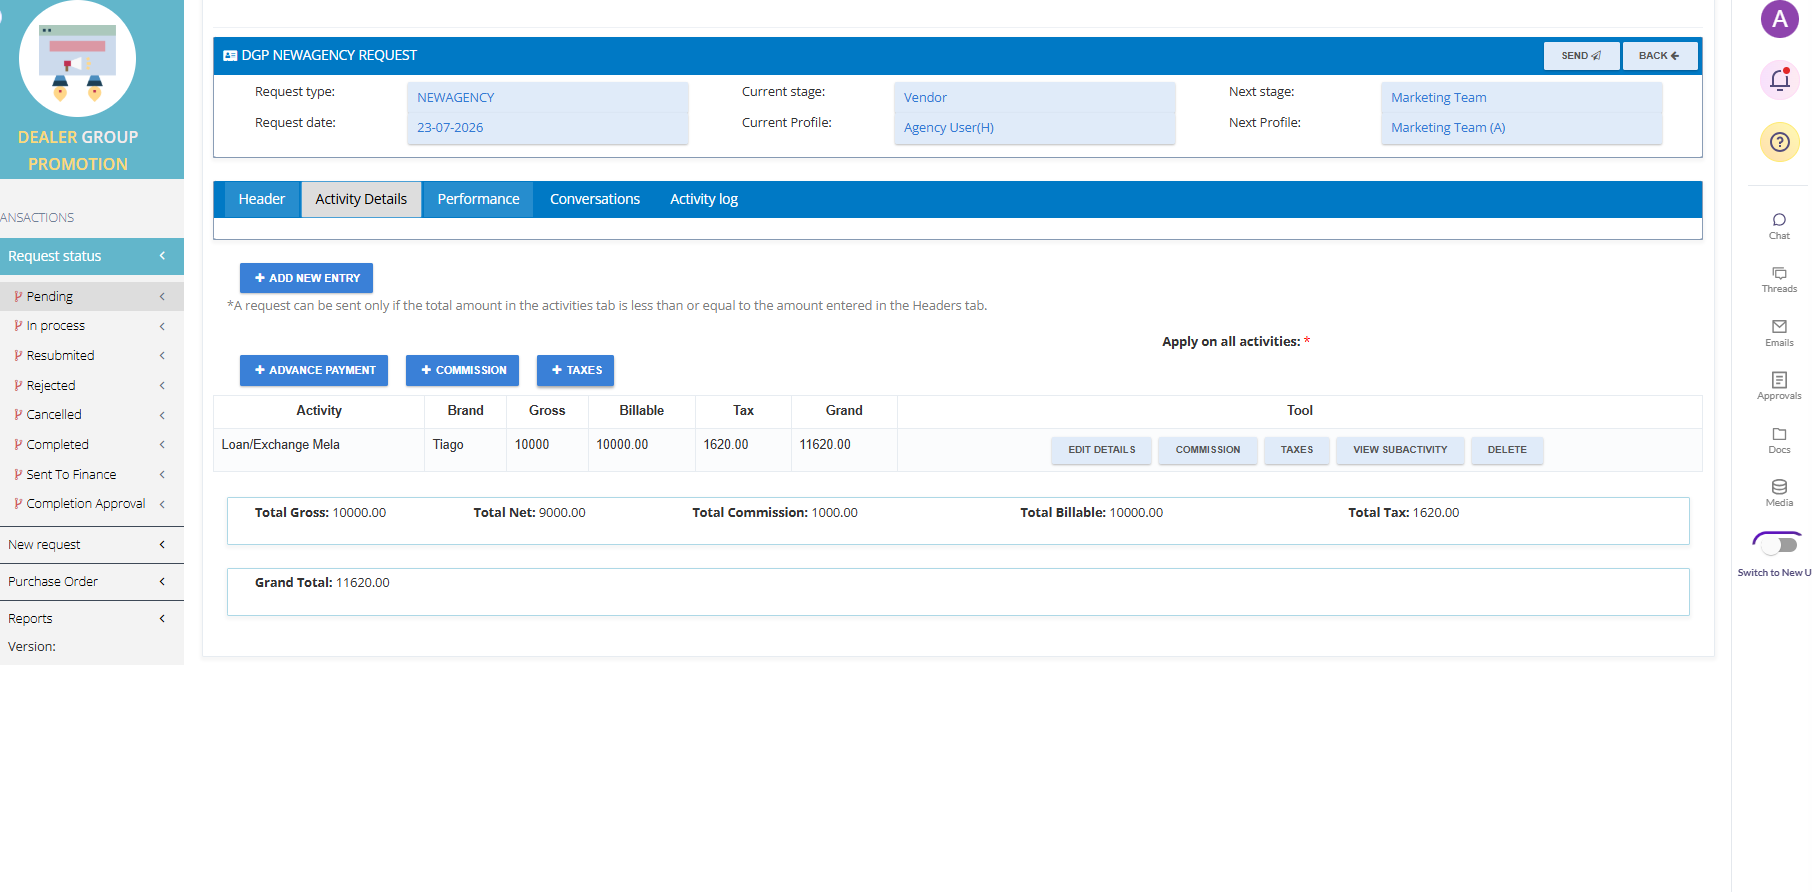
(o) Review all Activity details here, once all the inputs are completed.
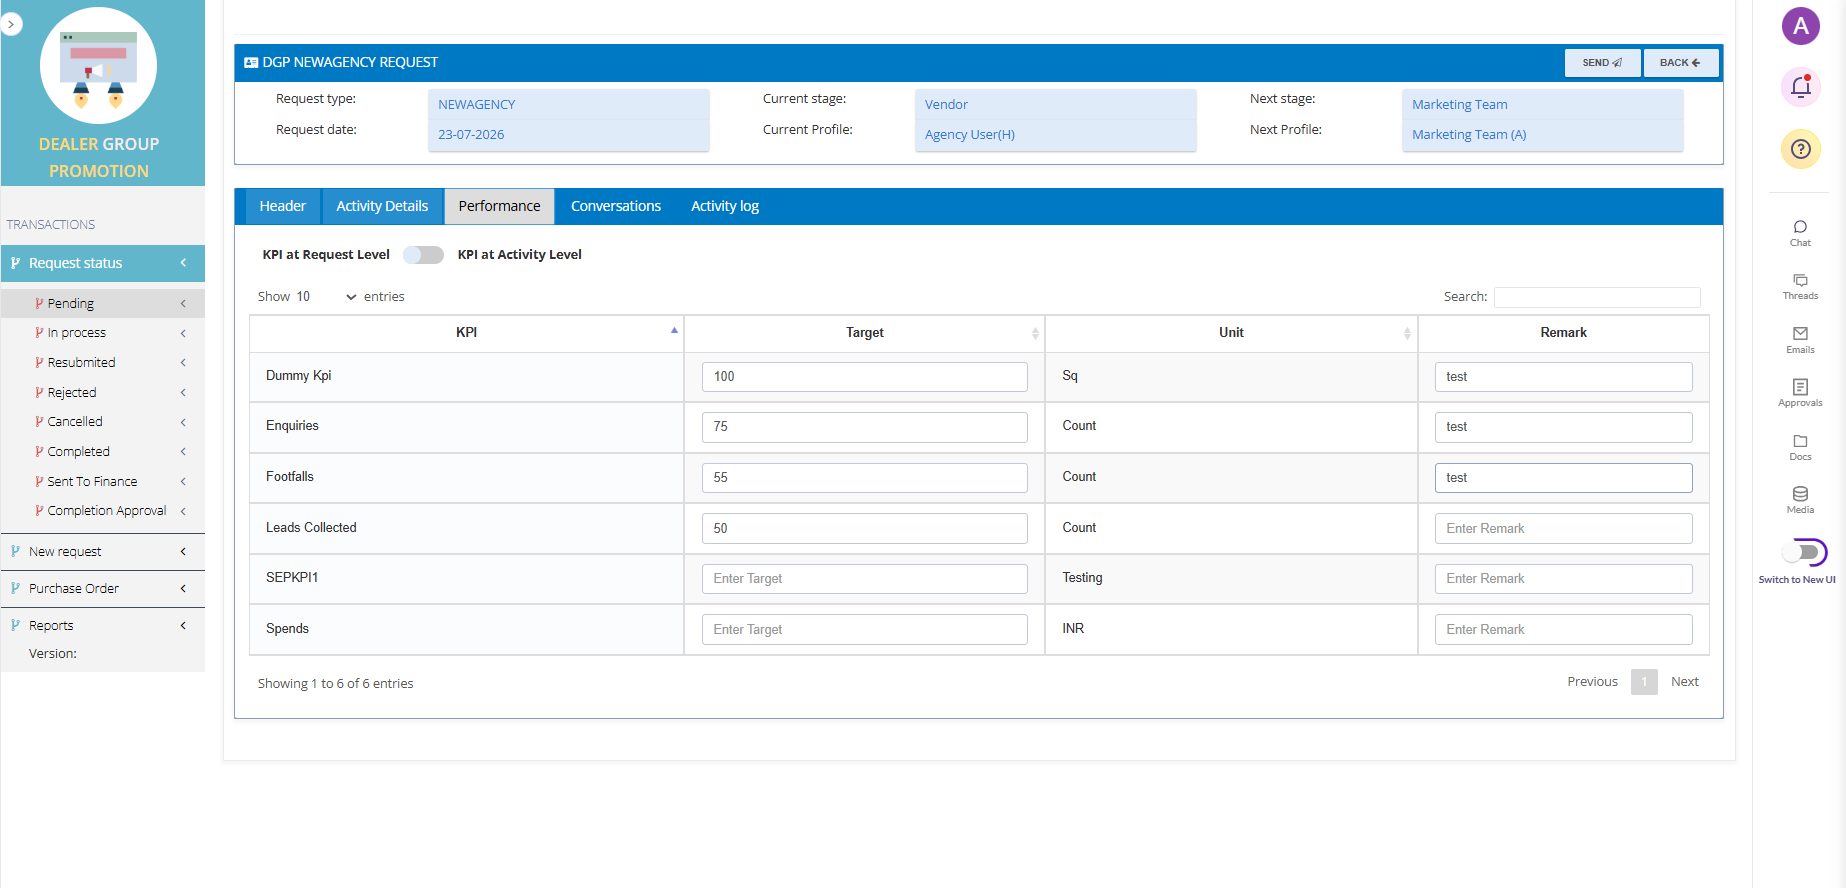
(p) Next, add KPI details under the Performance section as per the plan.
6. Remarks and Submission (Steps q–s)
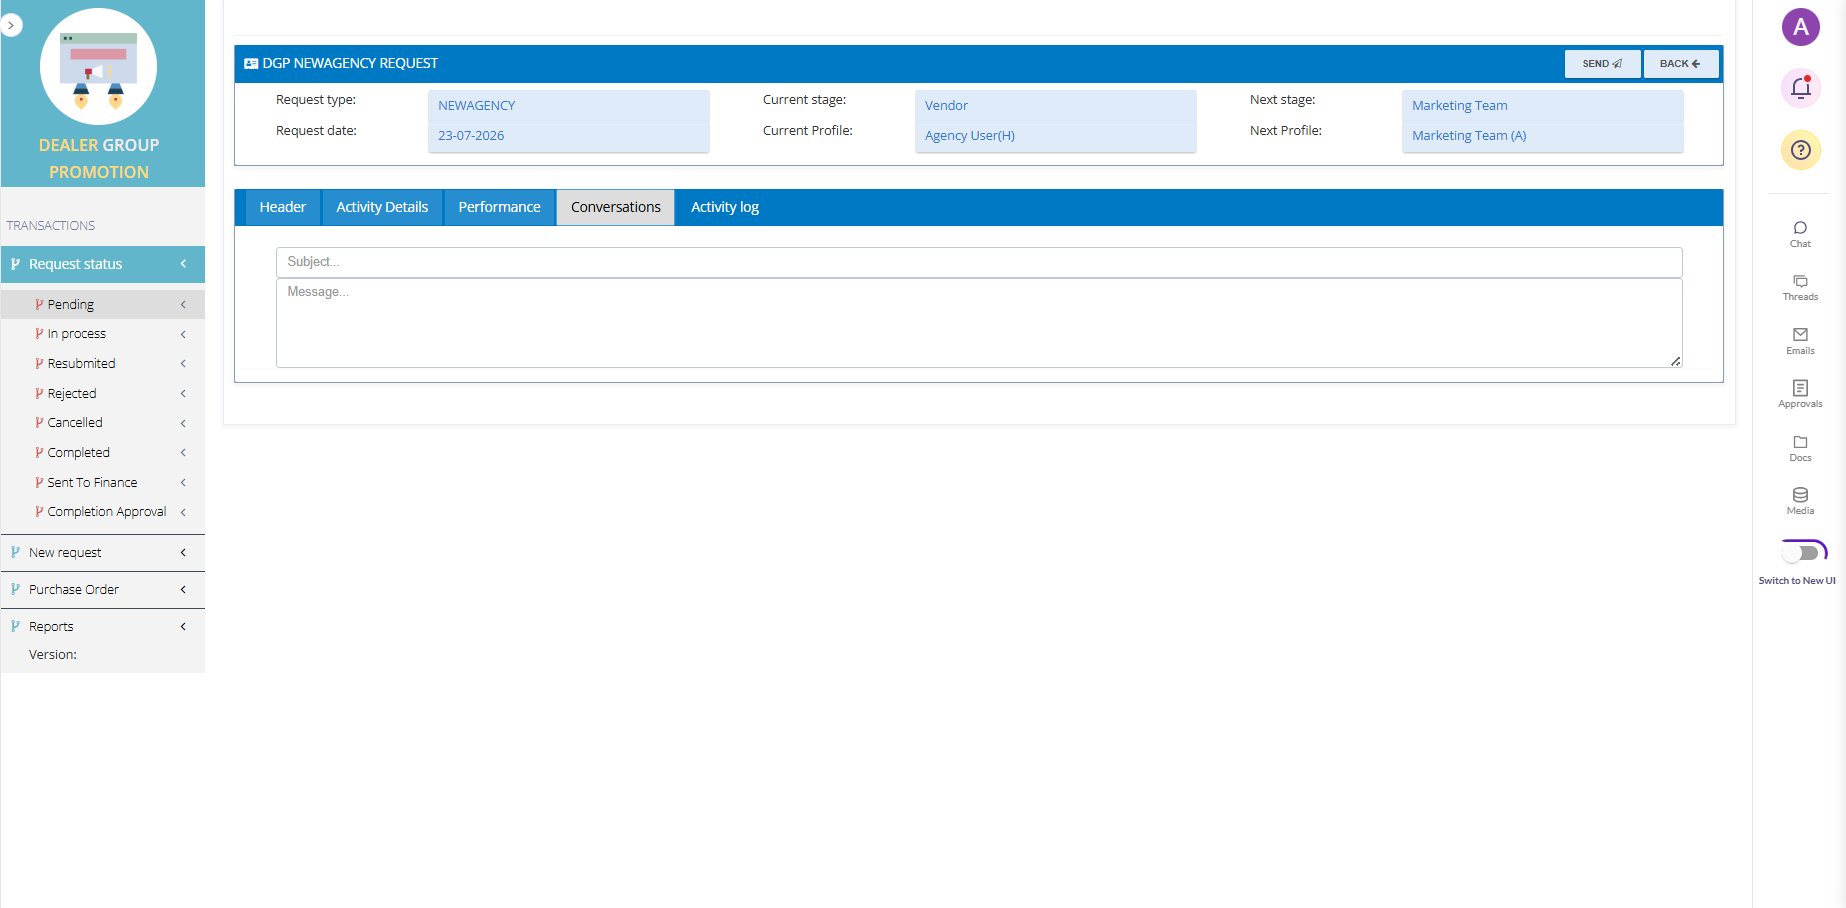
(q) Next, use the Conversation tab to add remarks for the client. They will be visible to all verifiers and approvers.
(r) Once all details are filled, click Send to submit for approval or verification.
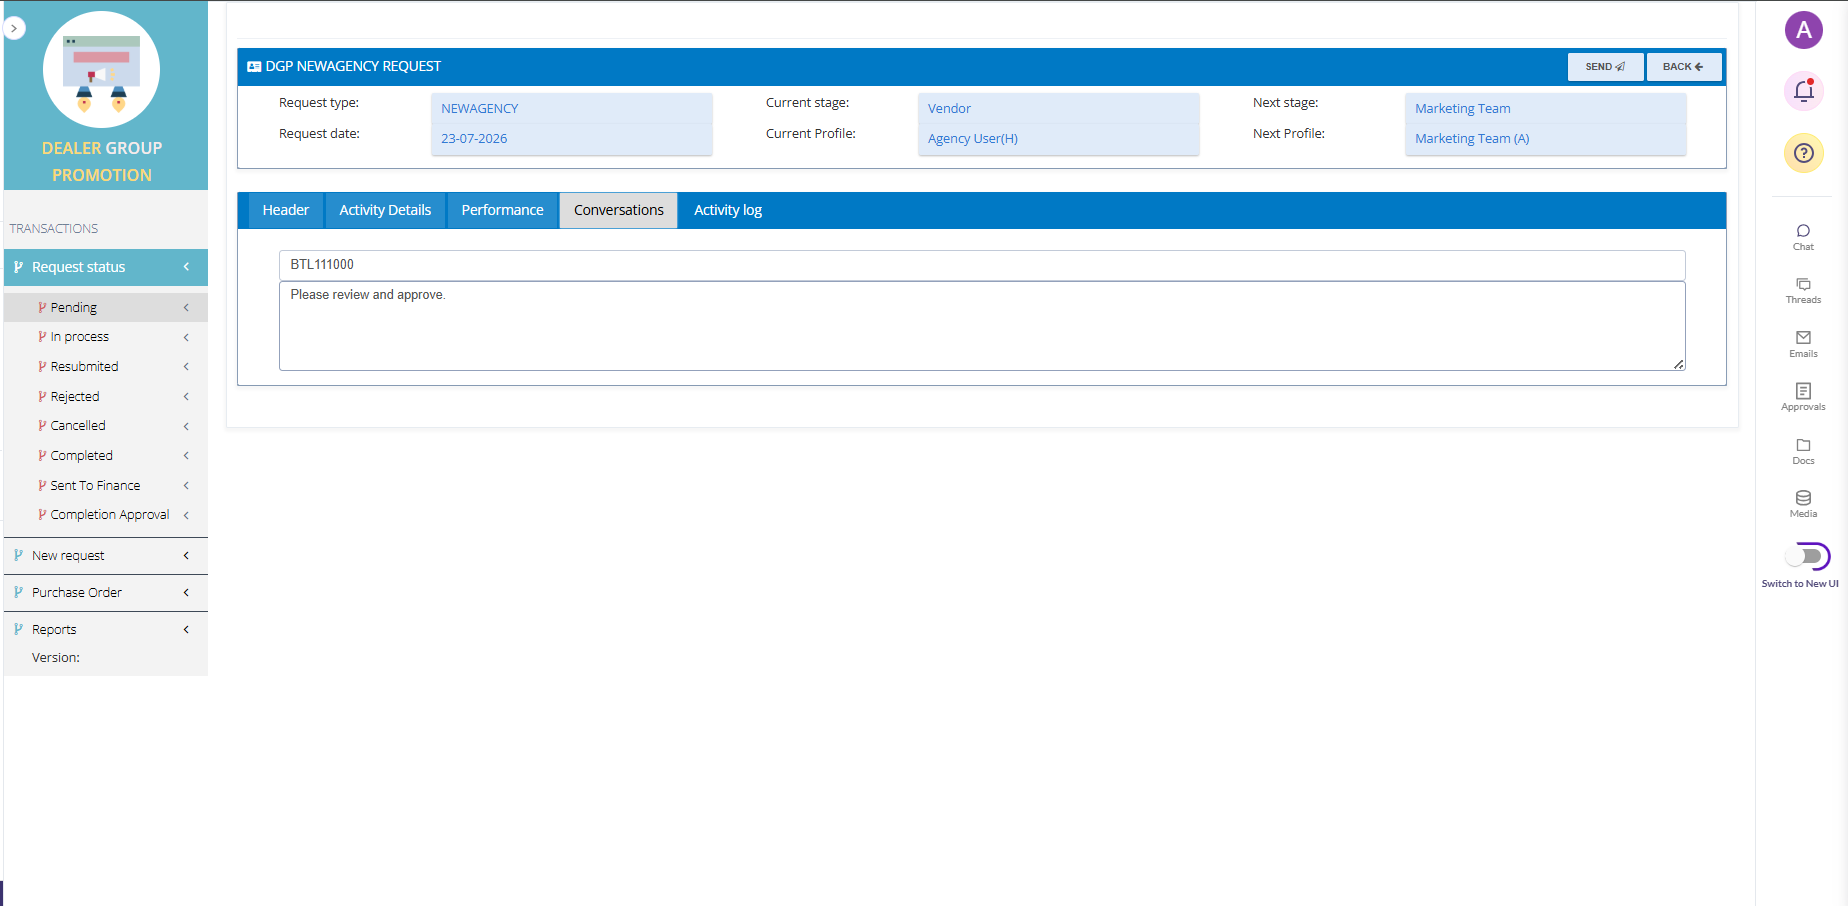
(s) Once submitted, a success message appears, and the verifier/approver is notified via email.